Networks Wireless Setup for Windows Vista (Personal Devices)
ETSU wireless access points are available to ETSU students, faculty, and staff. If you have a wireless adapter (wireless card) in your computer, you will be able to connect to the ETSU network via a wireless connection. Security for all ETSU Wireless Access Points is enabled by WPA2-Enterprise with AES encryption.
For most people, configuration should be rather easy. Vista should detect the wireless
network and determine what the security settings are. You may get a bubble in the
lower-right portion of your screen that looks like the one below. 
If you're telling Vista to connect to the network, you may get a screen that asks
you to choose a certificate or to enter credentials. 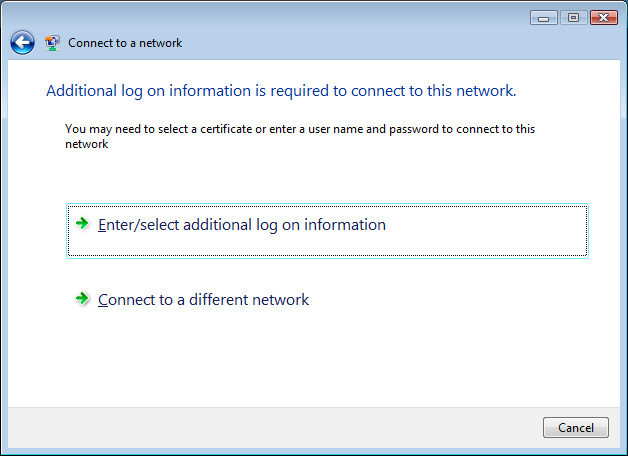
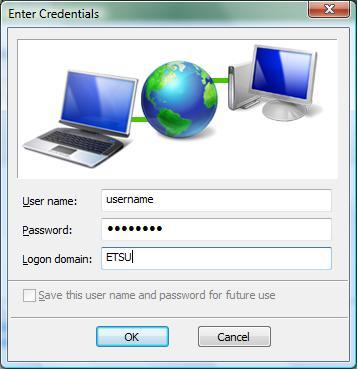
When you click on either one of them, you should be presented with a box to enter
your username and password. You'll also need to enter "ETSU" for the logon domain.
You'll probably be presented with the previous screen that asks you for additional
logon information. The difference this time is you'll be presented with a message
to validate the certificate, as shown below. 
Simply click on the OK button and you should be connected a few seconds later.
If for some reason the default settings won't work, there are some instructions below to allow you to manually configure Vista to connect to the network.
- Click on the Windows button and click on Connect To. You should get the screen below. If you do not see a listing for the ETSU network,
you are probably not in range of the network.
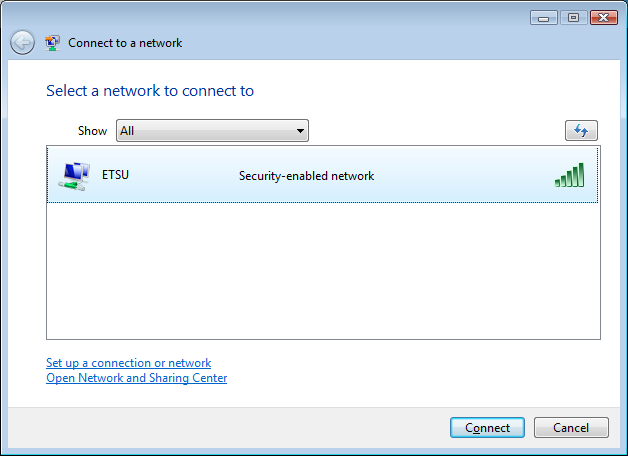
- Right-click on the ETSUWiFi entry. If there's a Properties option, click on it and then skip down to step #6. If you don't have Properties, click on Set up a connection or network.
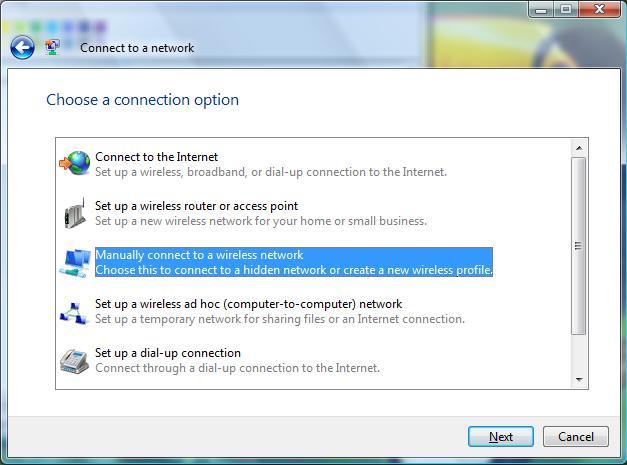
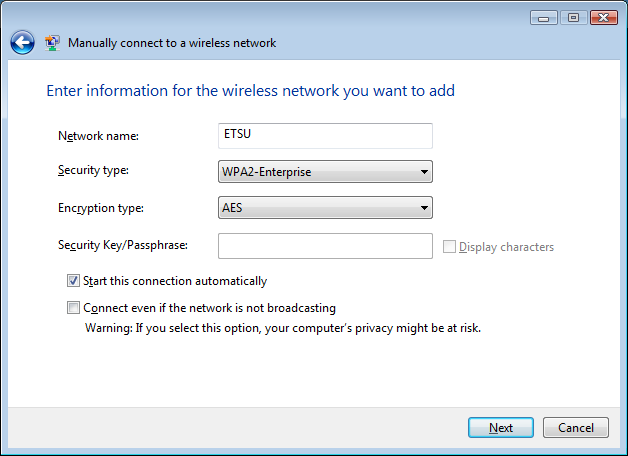
- Choose the Manually connect to a wireless network option and then click on Next.
- Type in ETSU for the Network name, choose WPA2-Enterprise for the Security type, and the Encryption type should be set to AES for you automatically. Leave the Security Key/ Passphrase field blank. Be sure that the box labeled Start this connection automatically is checked. Click on Next.
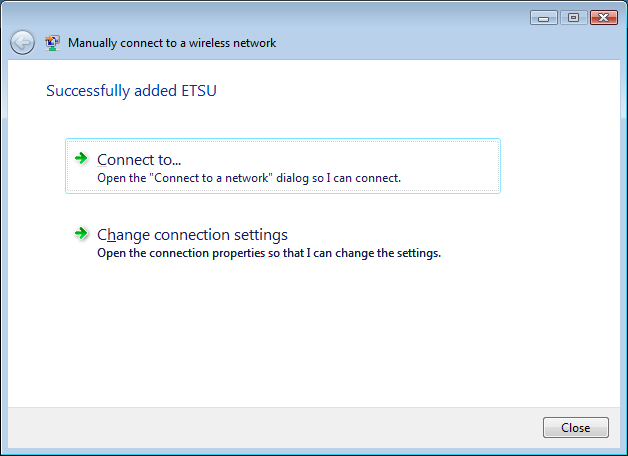
- You'll get a screen that says that it successfully added ETSU. At this point, you
need to click on Change connection settings. When the next screen comes up, click on the Security tab.
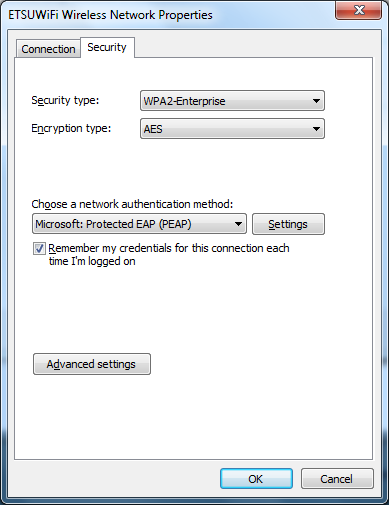
- On this screen, be sure that the Security type is set to WPA2-Enterprise and that the Encryption type is set to AES. In the box under Choose a network authentication method:, be sure that's set to Protected EAP (PEAP). When those are set, click on the Settings button.
- On this screen, you need to uncheck Validate server certificate.
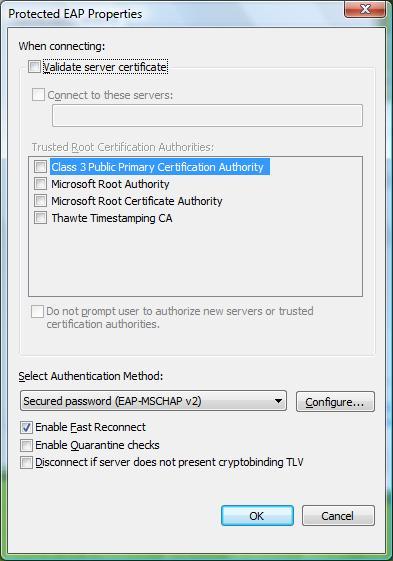
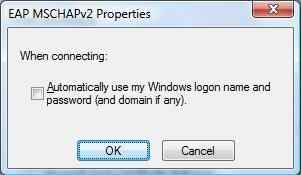
- Now click on the Configure button near the bottom. Be sure that this box is unchecked, then click on the OK
button.
- Click on the OK button to get out of the Protected EAP Properties screen. Then click on the OK button to get out of the ETSU properties screen.
- In the lower right-hand part of the screen, you should get a little bubble like what's
shown above. Click on it to get the login prompt to come up.
- At this screen, simply enter your ETSU username, your password and use ETSU for the Logon domain. Click on the OK button.
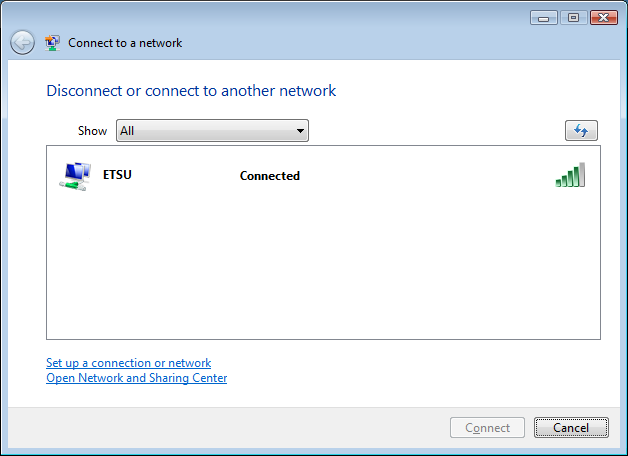
- After a few seconds, you should get a screen similar to this that says that you're
connected. If you get the authentication bubble again, it probably means that your
password didn't work. Click on the bubble to try again.
If you have any questions, feel free to contact the Help Desk.